
I’ve been using a Raspberry Pi as my media centre PC for about four years. I like the idea of having a computer hooked up to my TV for playing local media. For Netflix, I use my (now ‘obsolete’) Wii U.
Previously, I had a dedicated media server (running Open Media Vault). The Pi was a ‘front end’ of sorts for that server and it ran OpenELEC (a Pi variant of Kodi).
Unfortunately, I had to change this long-standing setup. The server bit the dust – likely an electronic short. This new setup is a less complicated replacement and kind of an experiment to see if I can function without the dedicated server. Also, OpenELEC, as a platform, has fallen out of favour so I’m using Open Source Media Centre (a fork of the ELEC) which has a slicker interface and better support.
Hardware
The hardware setup is pretty simple. I have a Raspberry Pi 2 and a 1TB WD Red Drive. For those at home, a Pi 3 will give you better performance.
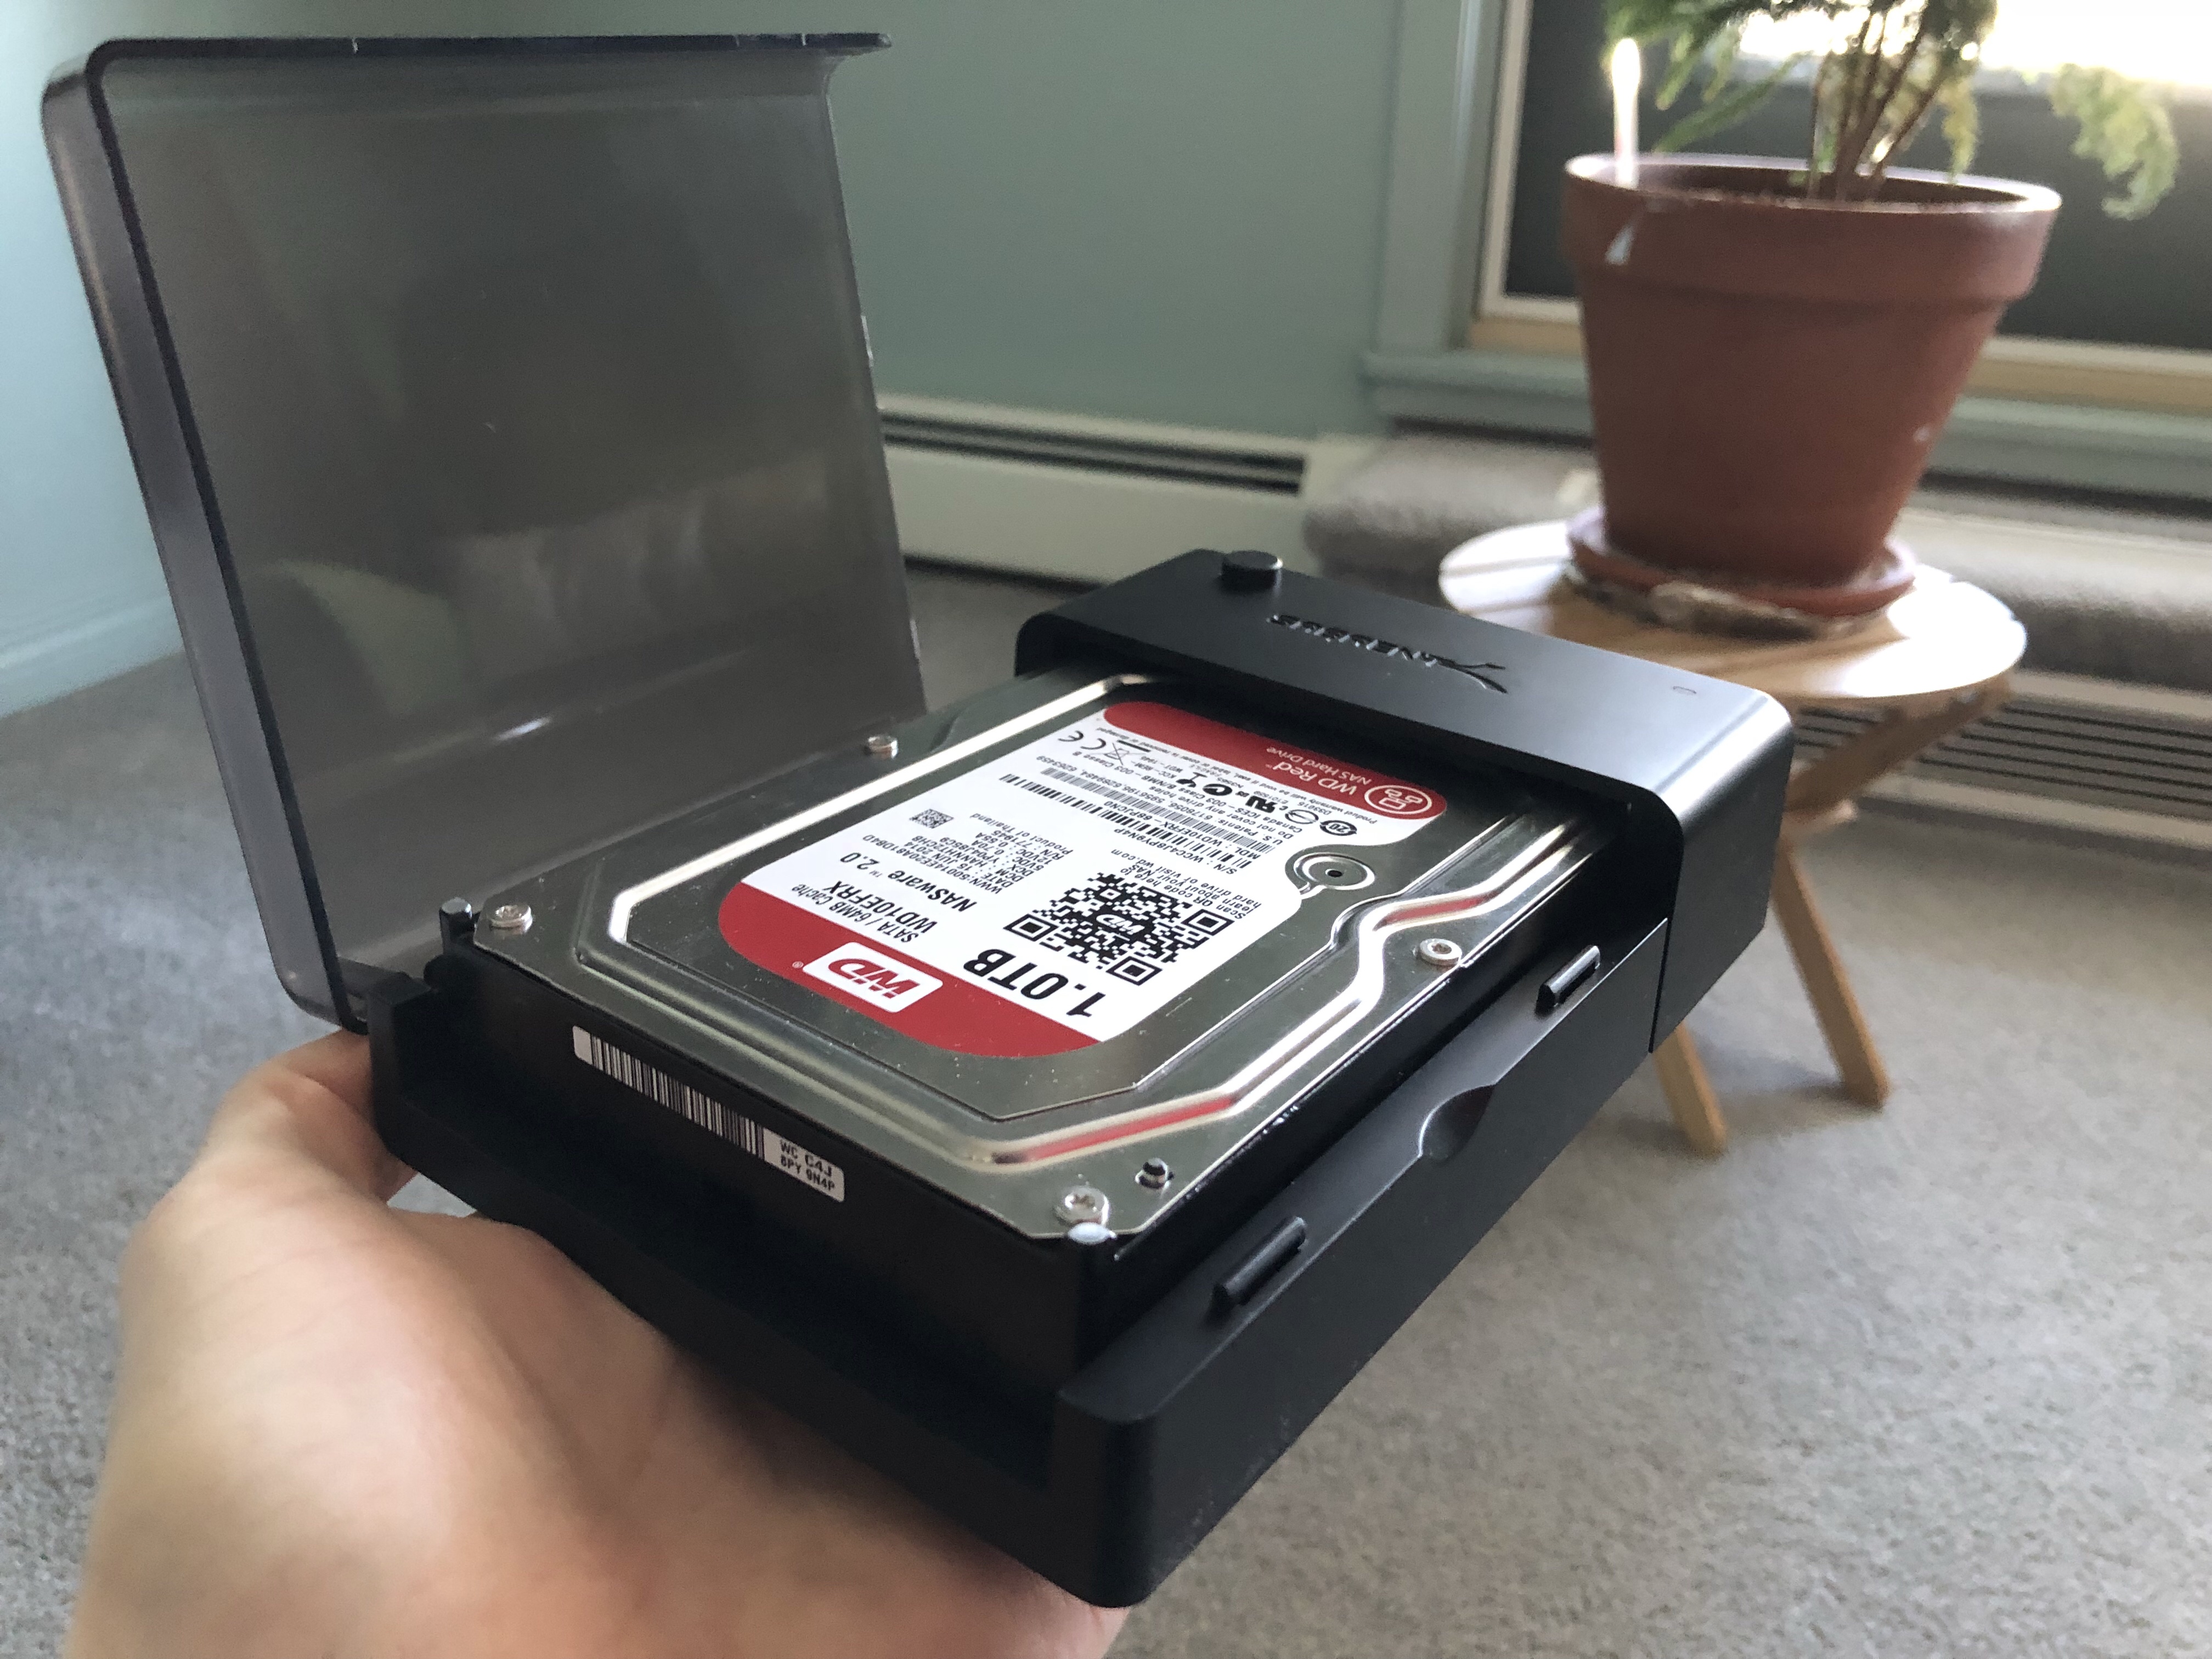
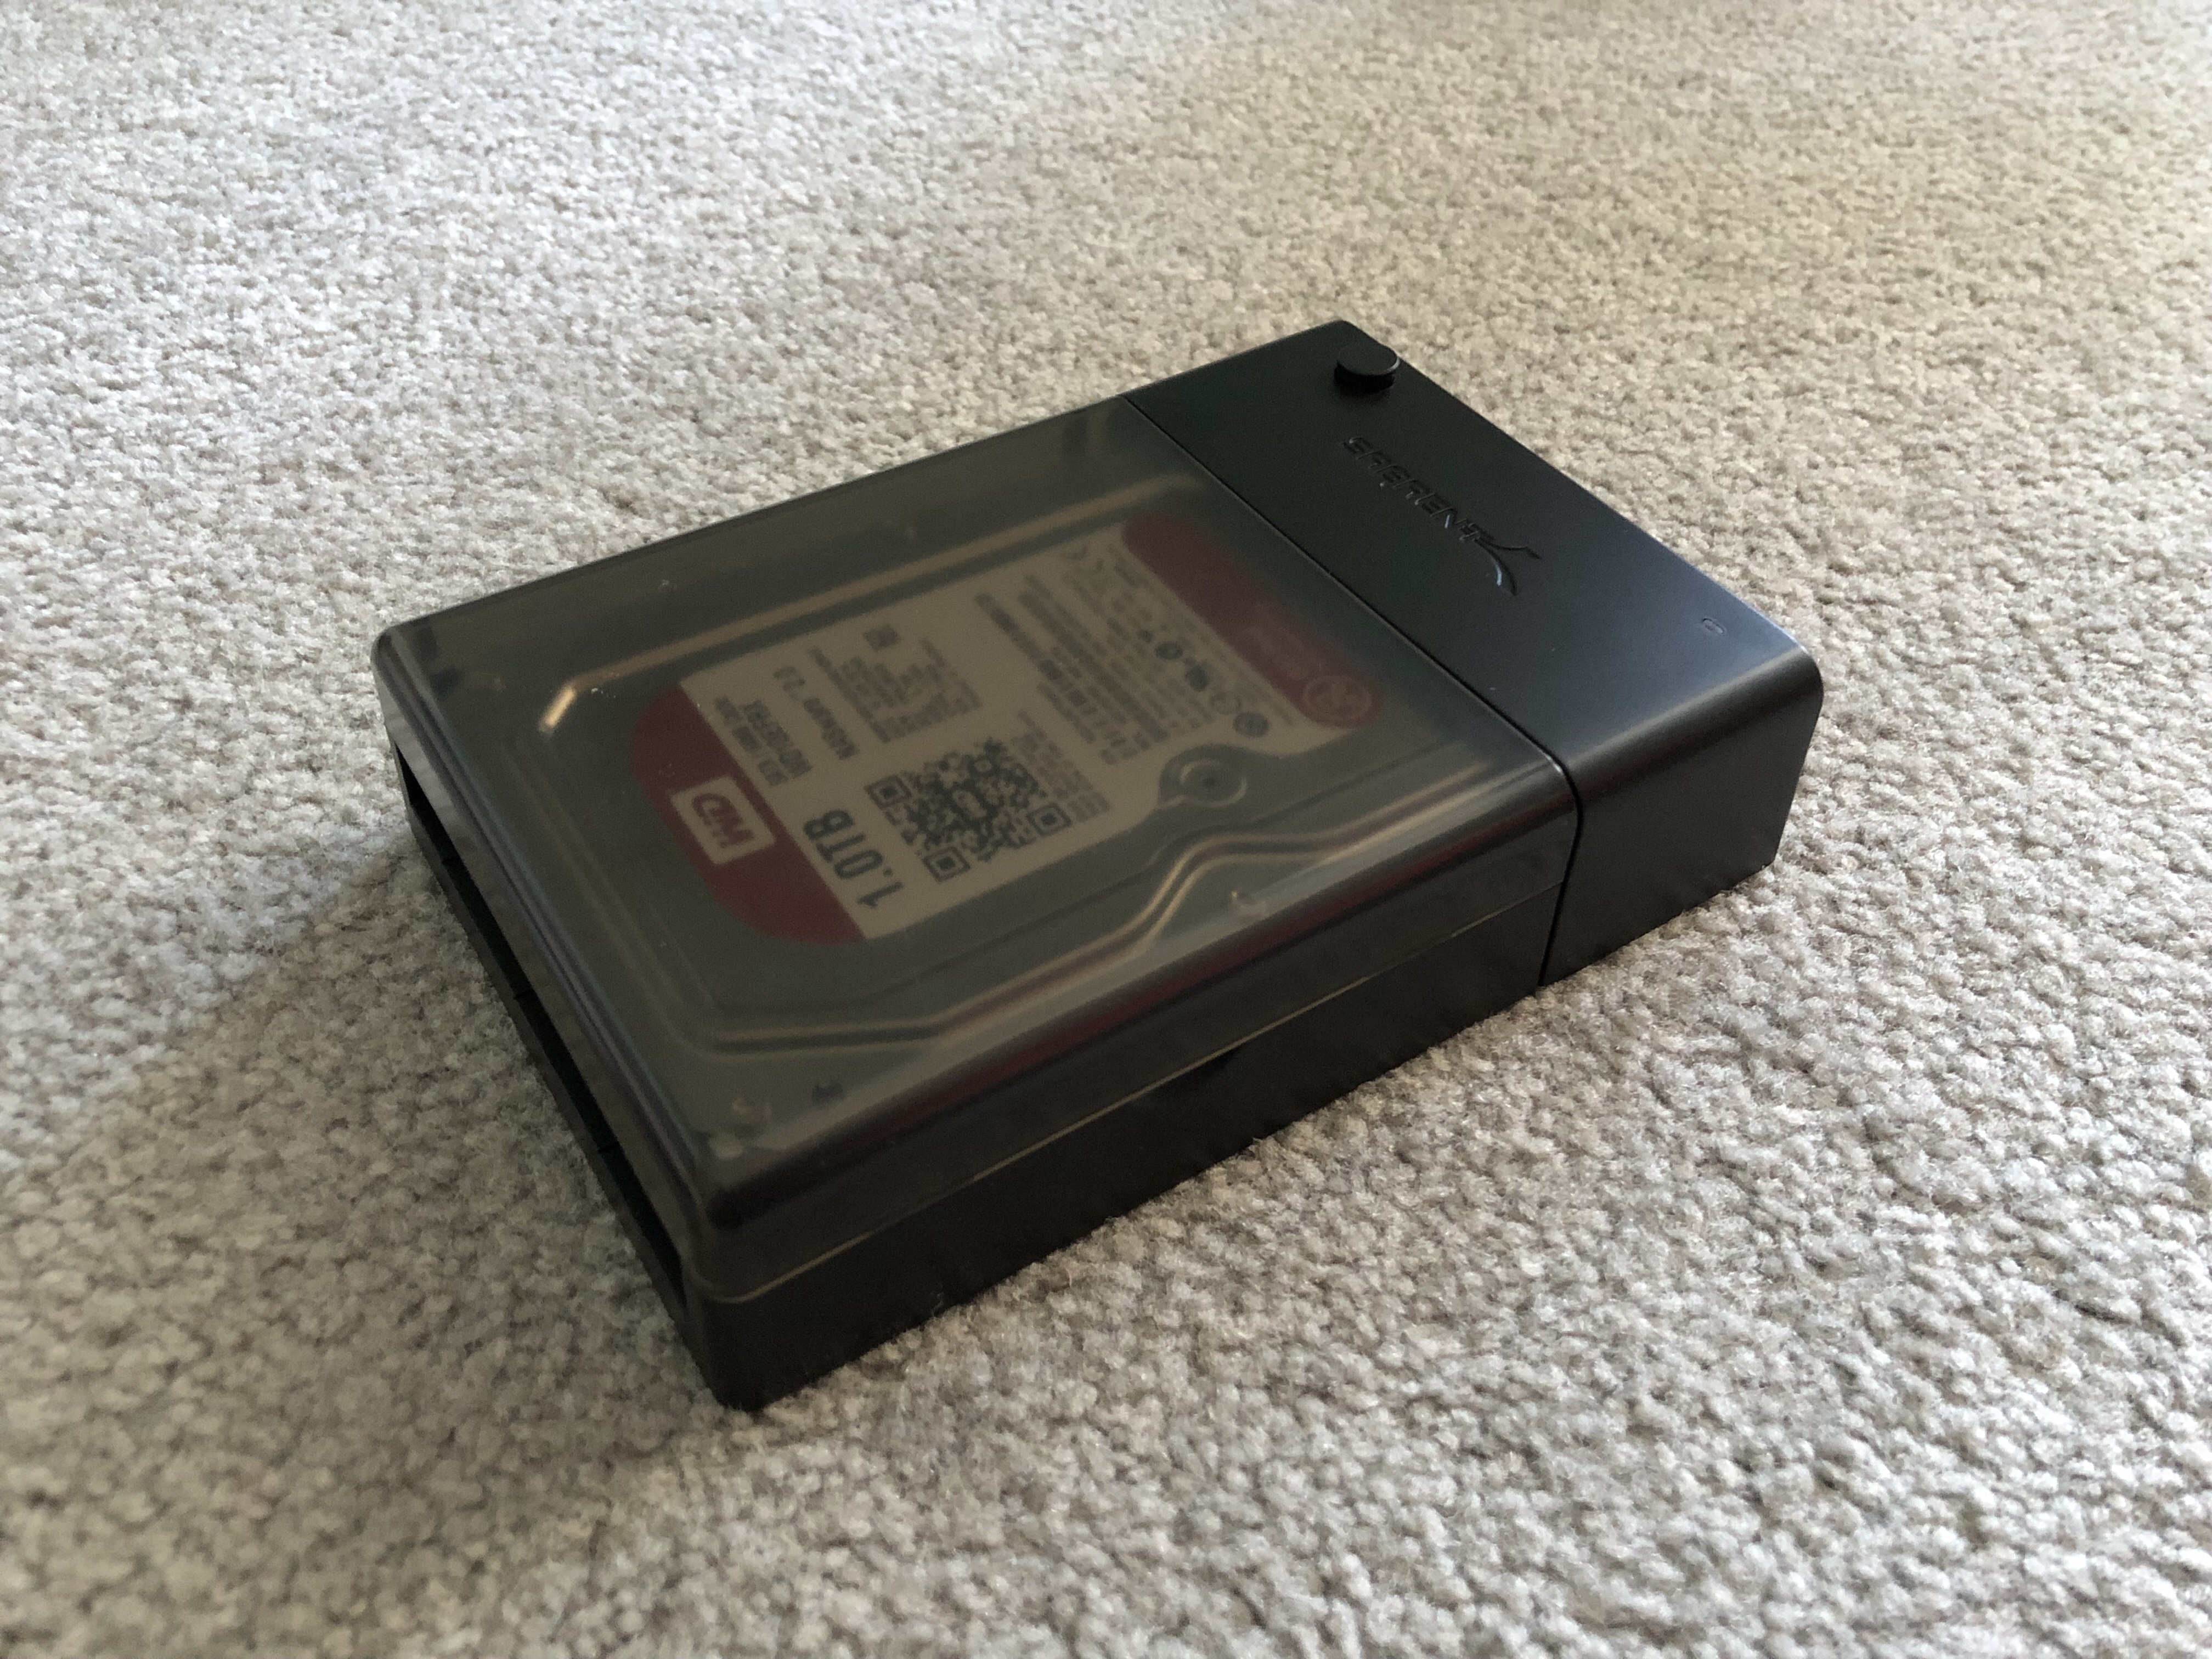
The hard drive, which is designed for network-attached storage, has been put into a nice enclosure which doesn’t require any tools. This allows me to swap out the storage easily (say if the drive dies). The drive is formatted to exFAT so I can write to the disk using Windows or macOS.
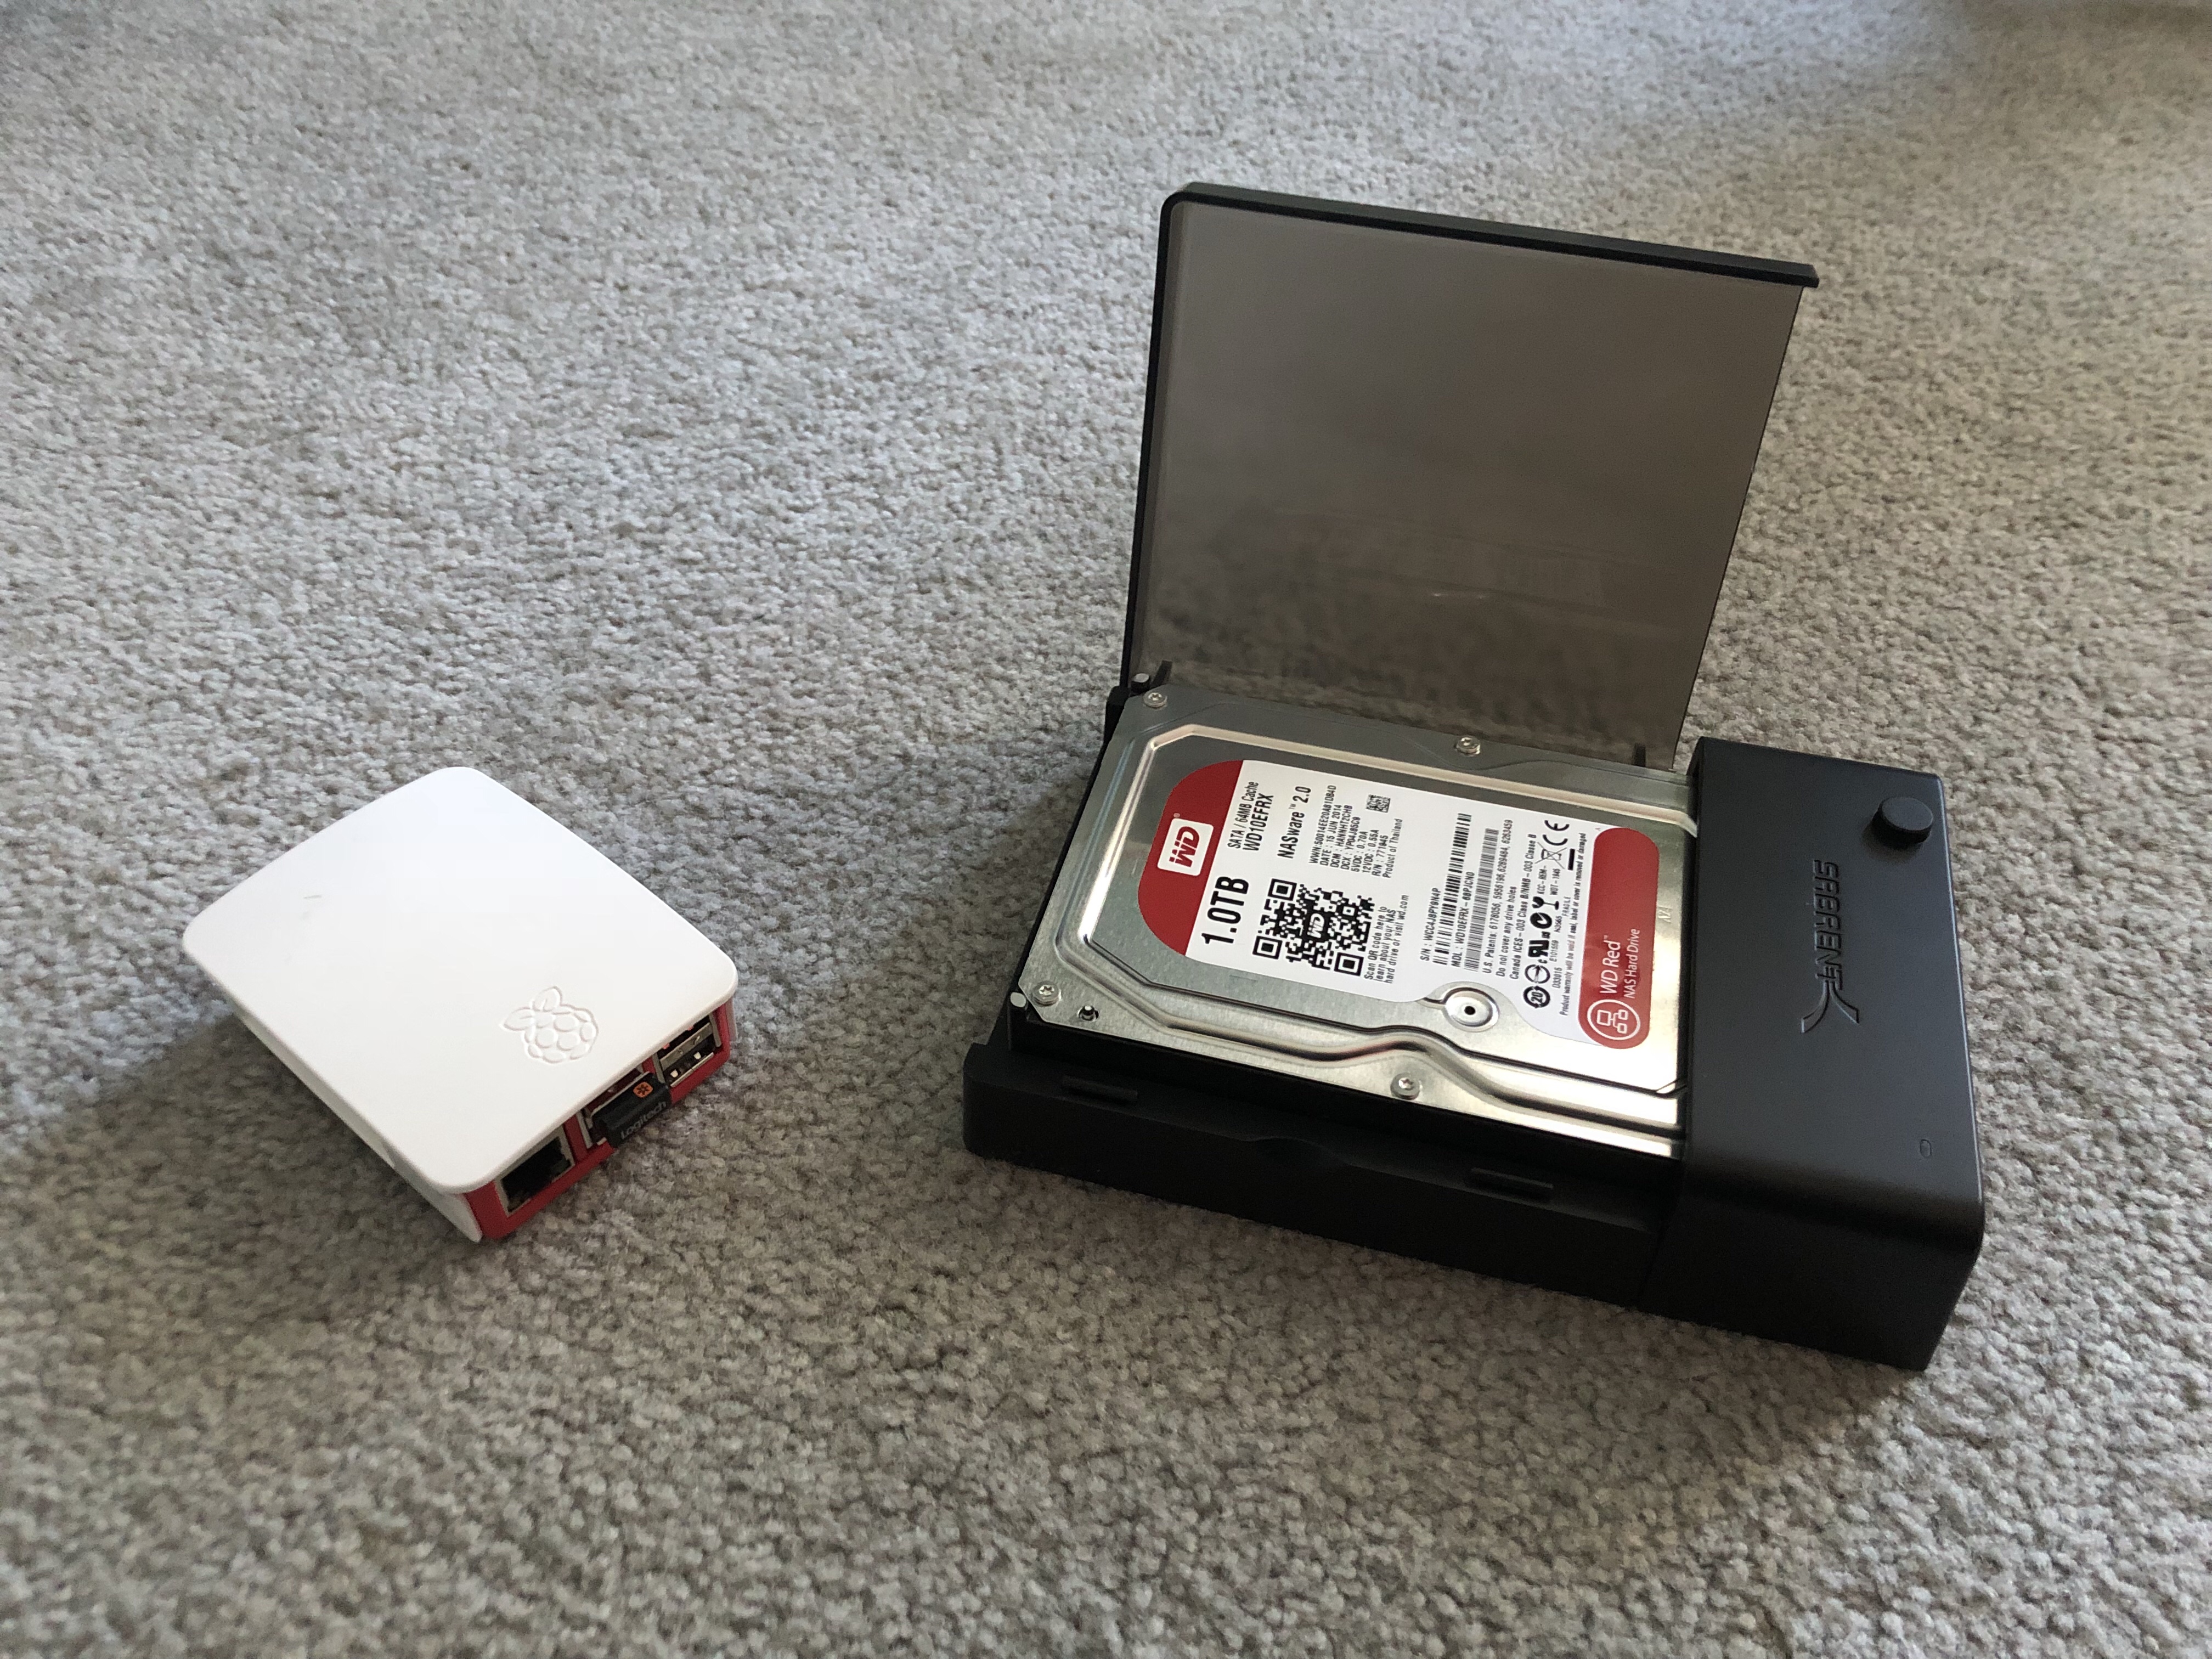
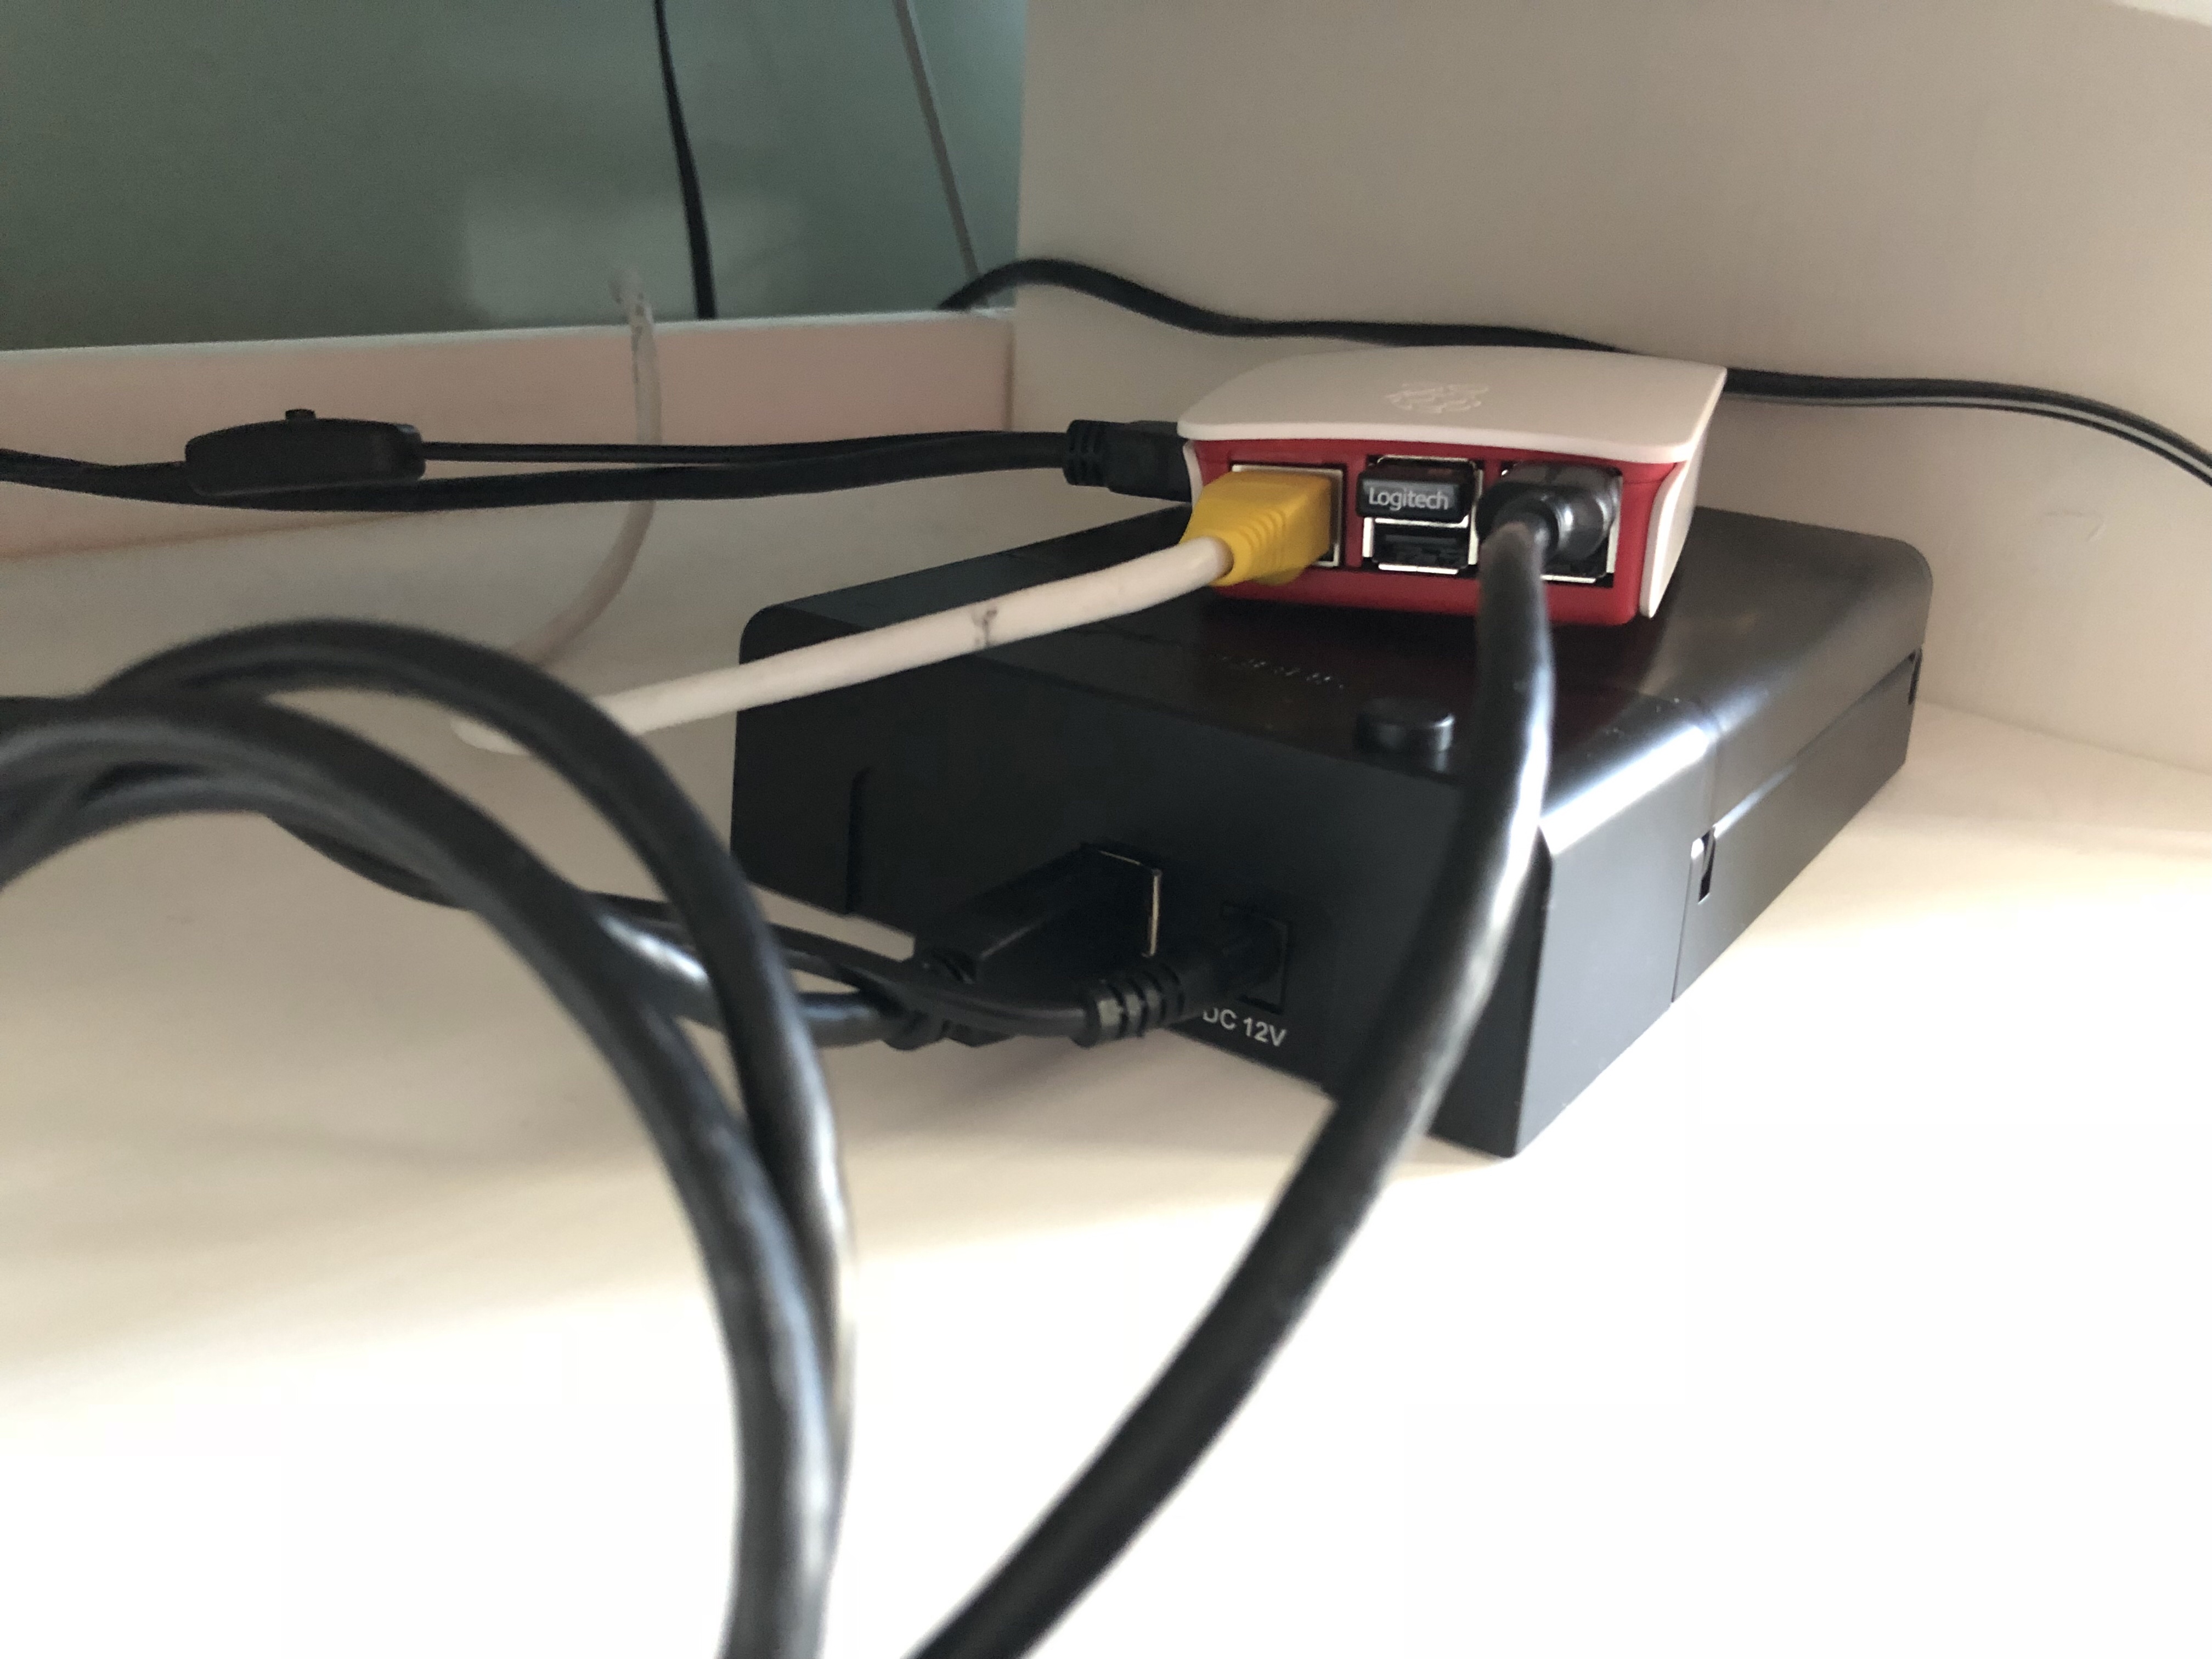
The nice thing about this setup is how easy it was. Both the Pi and drive/enclosure have external power. To make them talk to each other, you just plug the drive into one of the Pi’s USB ports. Done.

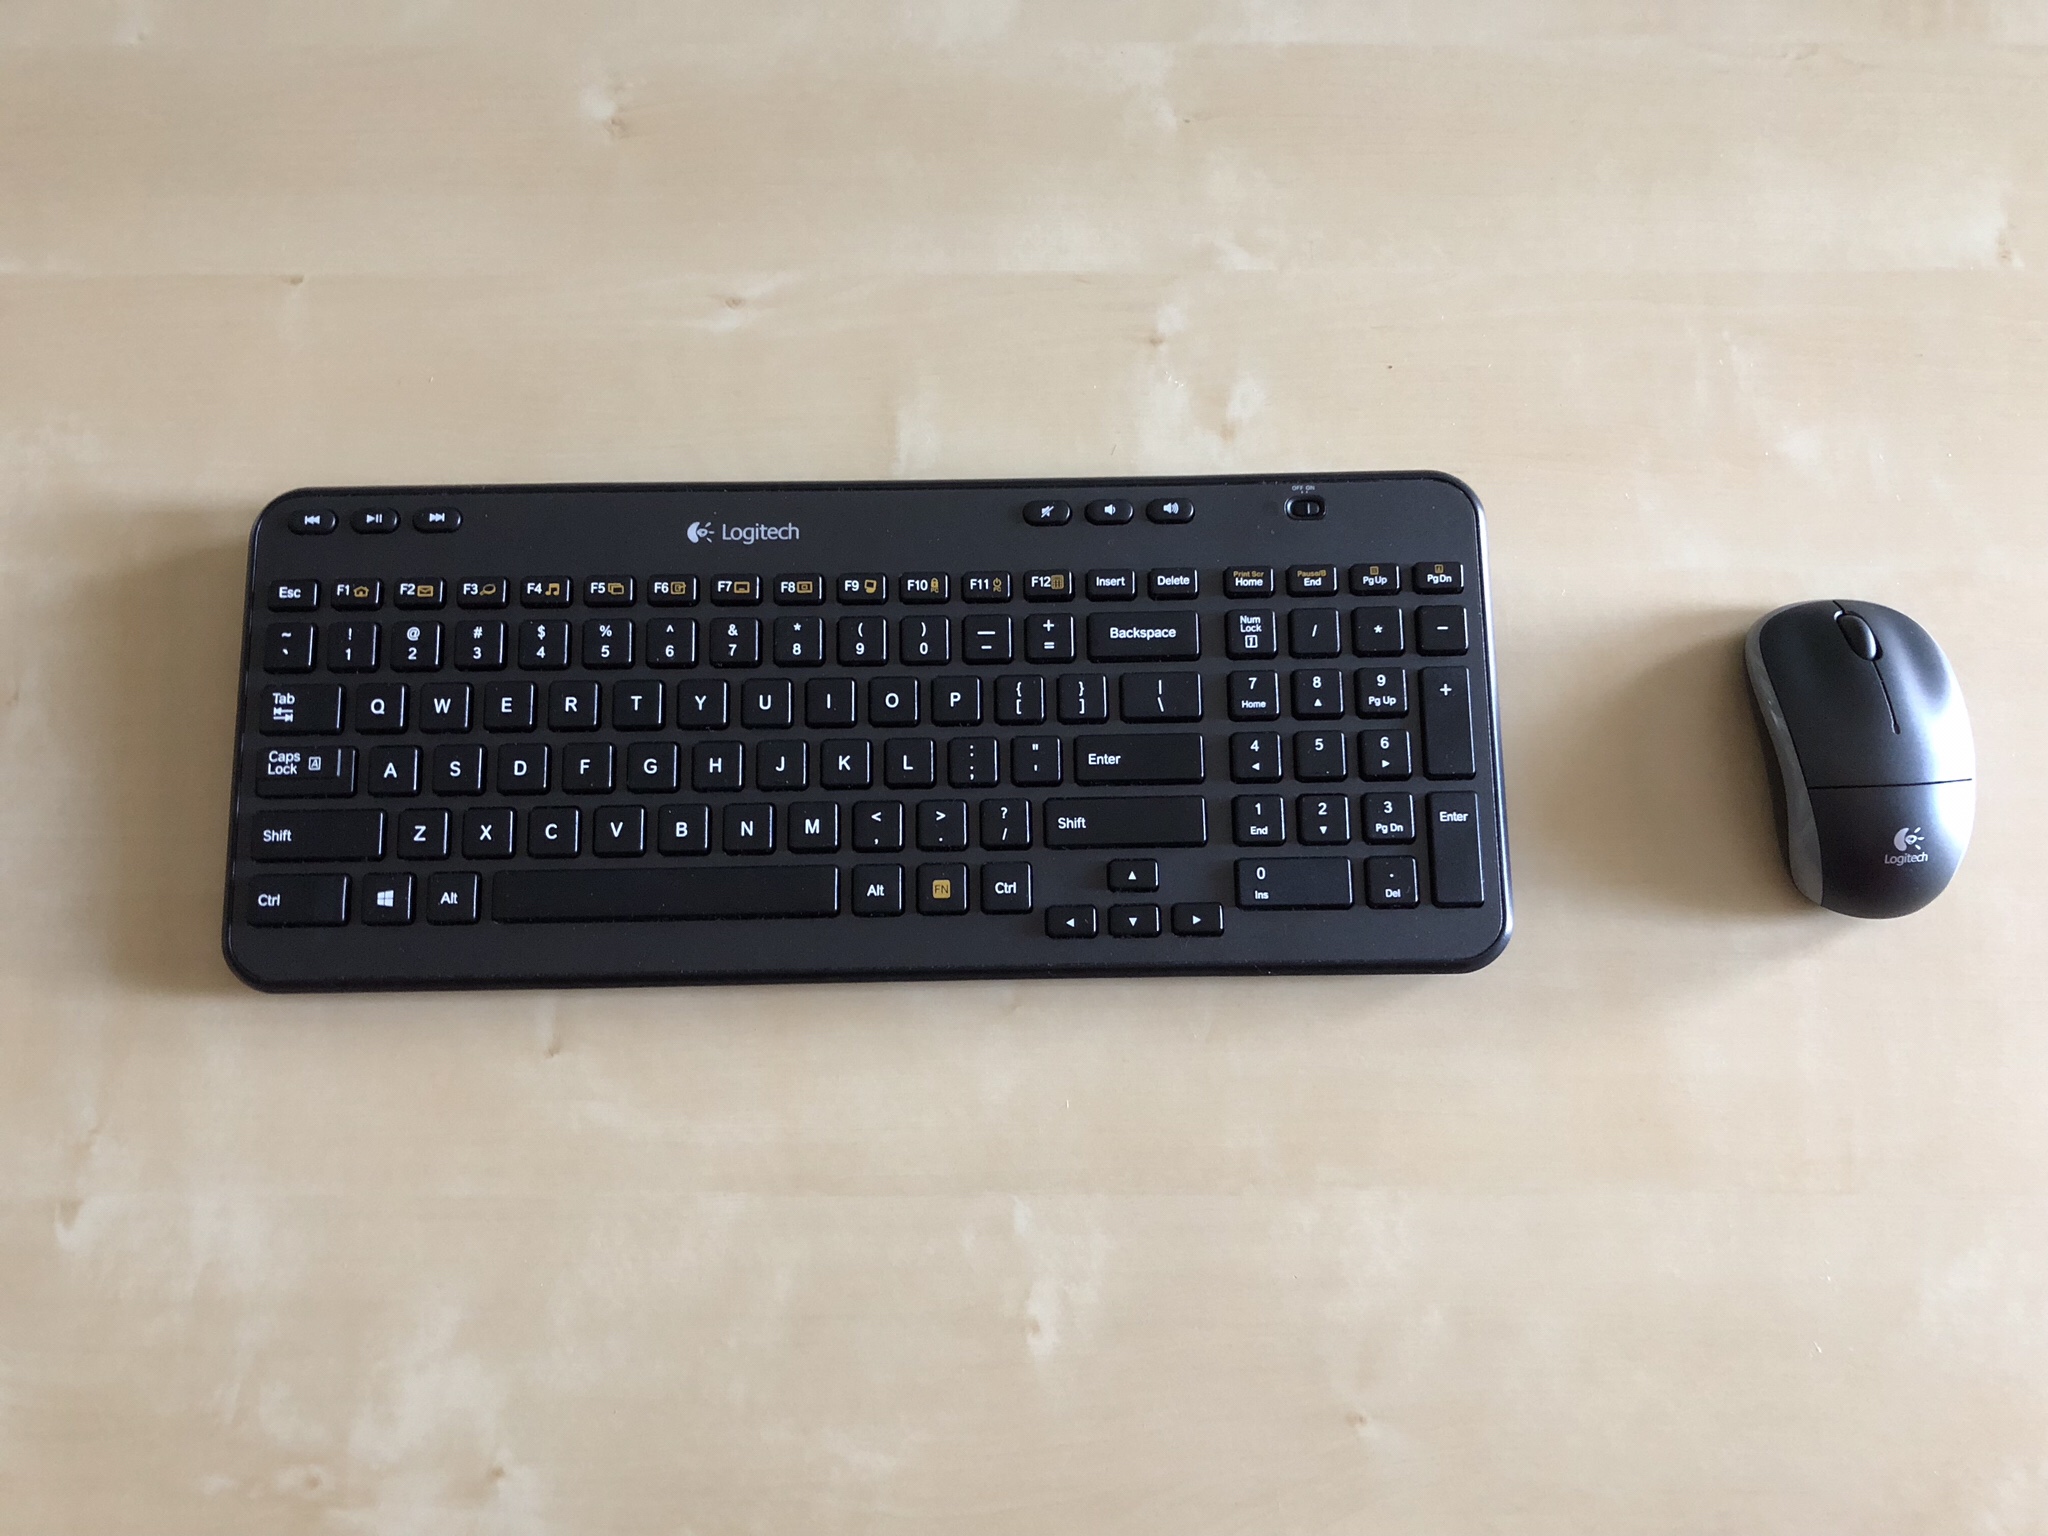
When it’s all hooked up for the first time, it’s a little messy. Plugged into the Pi, is an ethernet cable (highly recommended over wireless), the keyboard/mouse dongle, and USB cable for the drive. For this Pi, I bought a power supply that has an on/off switch. I highly recommend this, as it allows you to setup your hardware without automatically starting up the Pi.

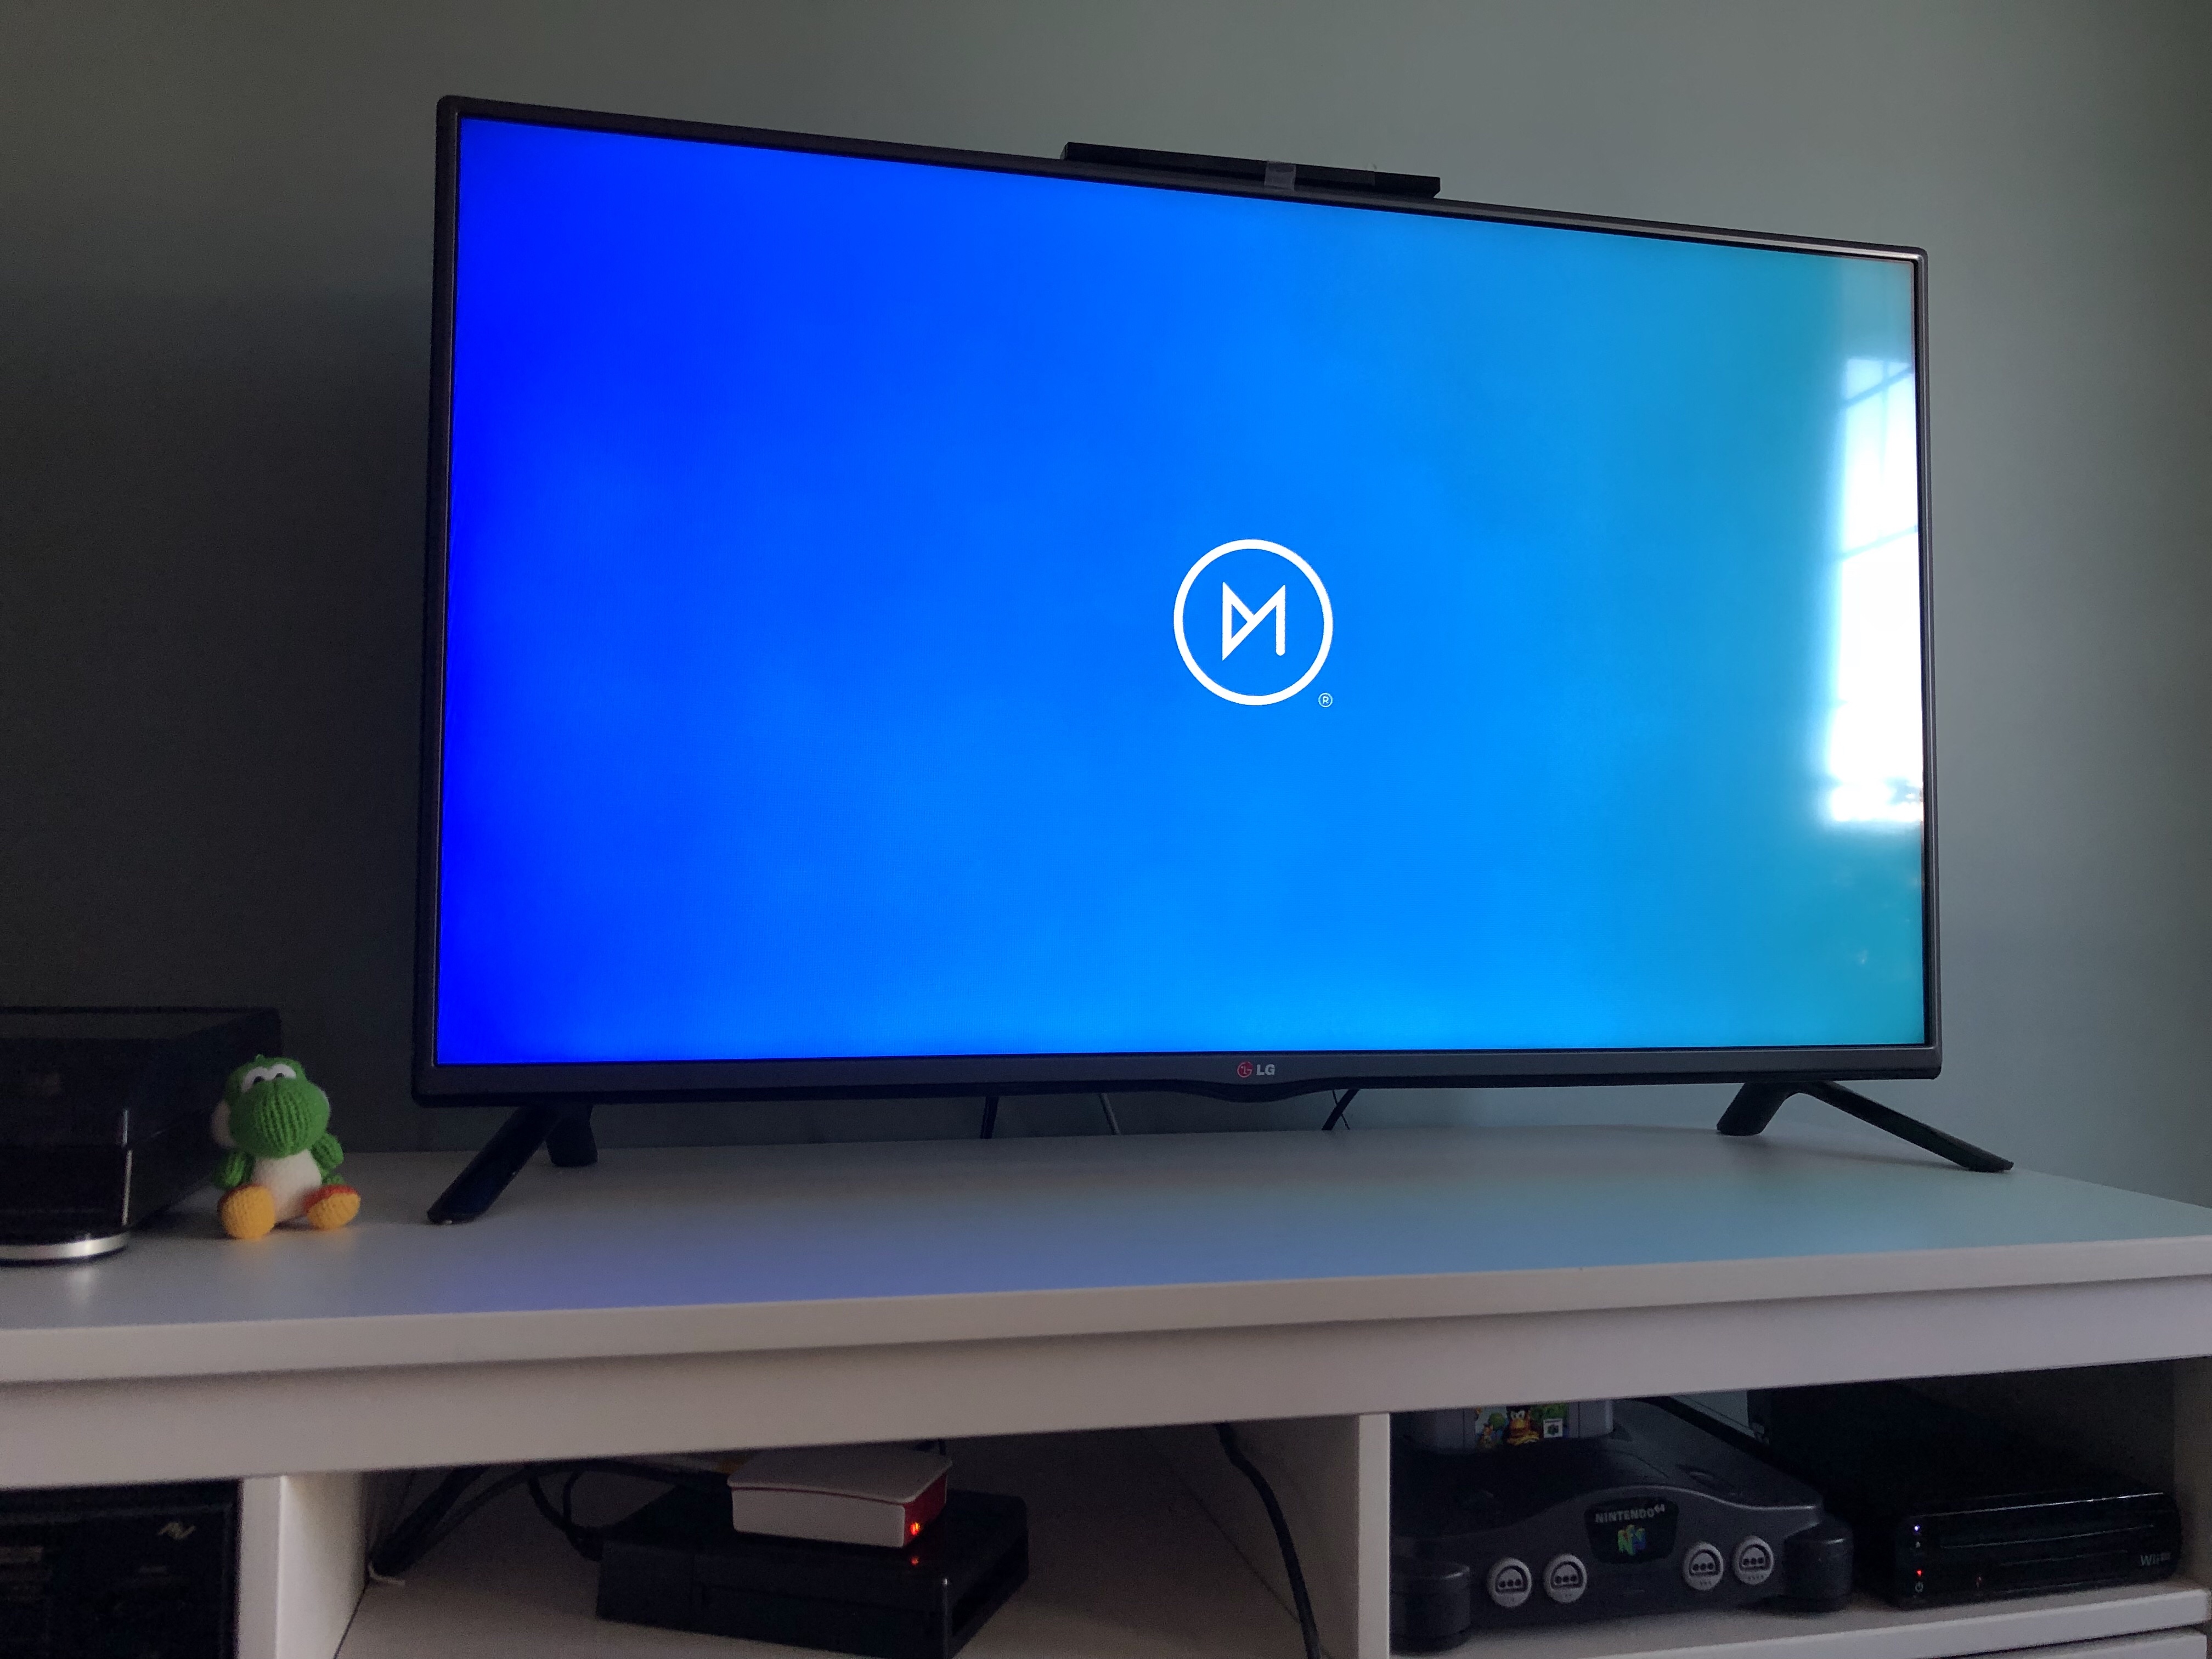
When you boot OSMC for the first time you’ll get a blue screen (of life?) with the operating system logo.
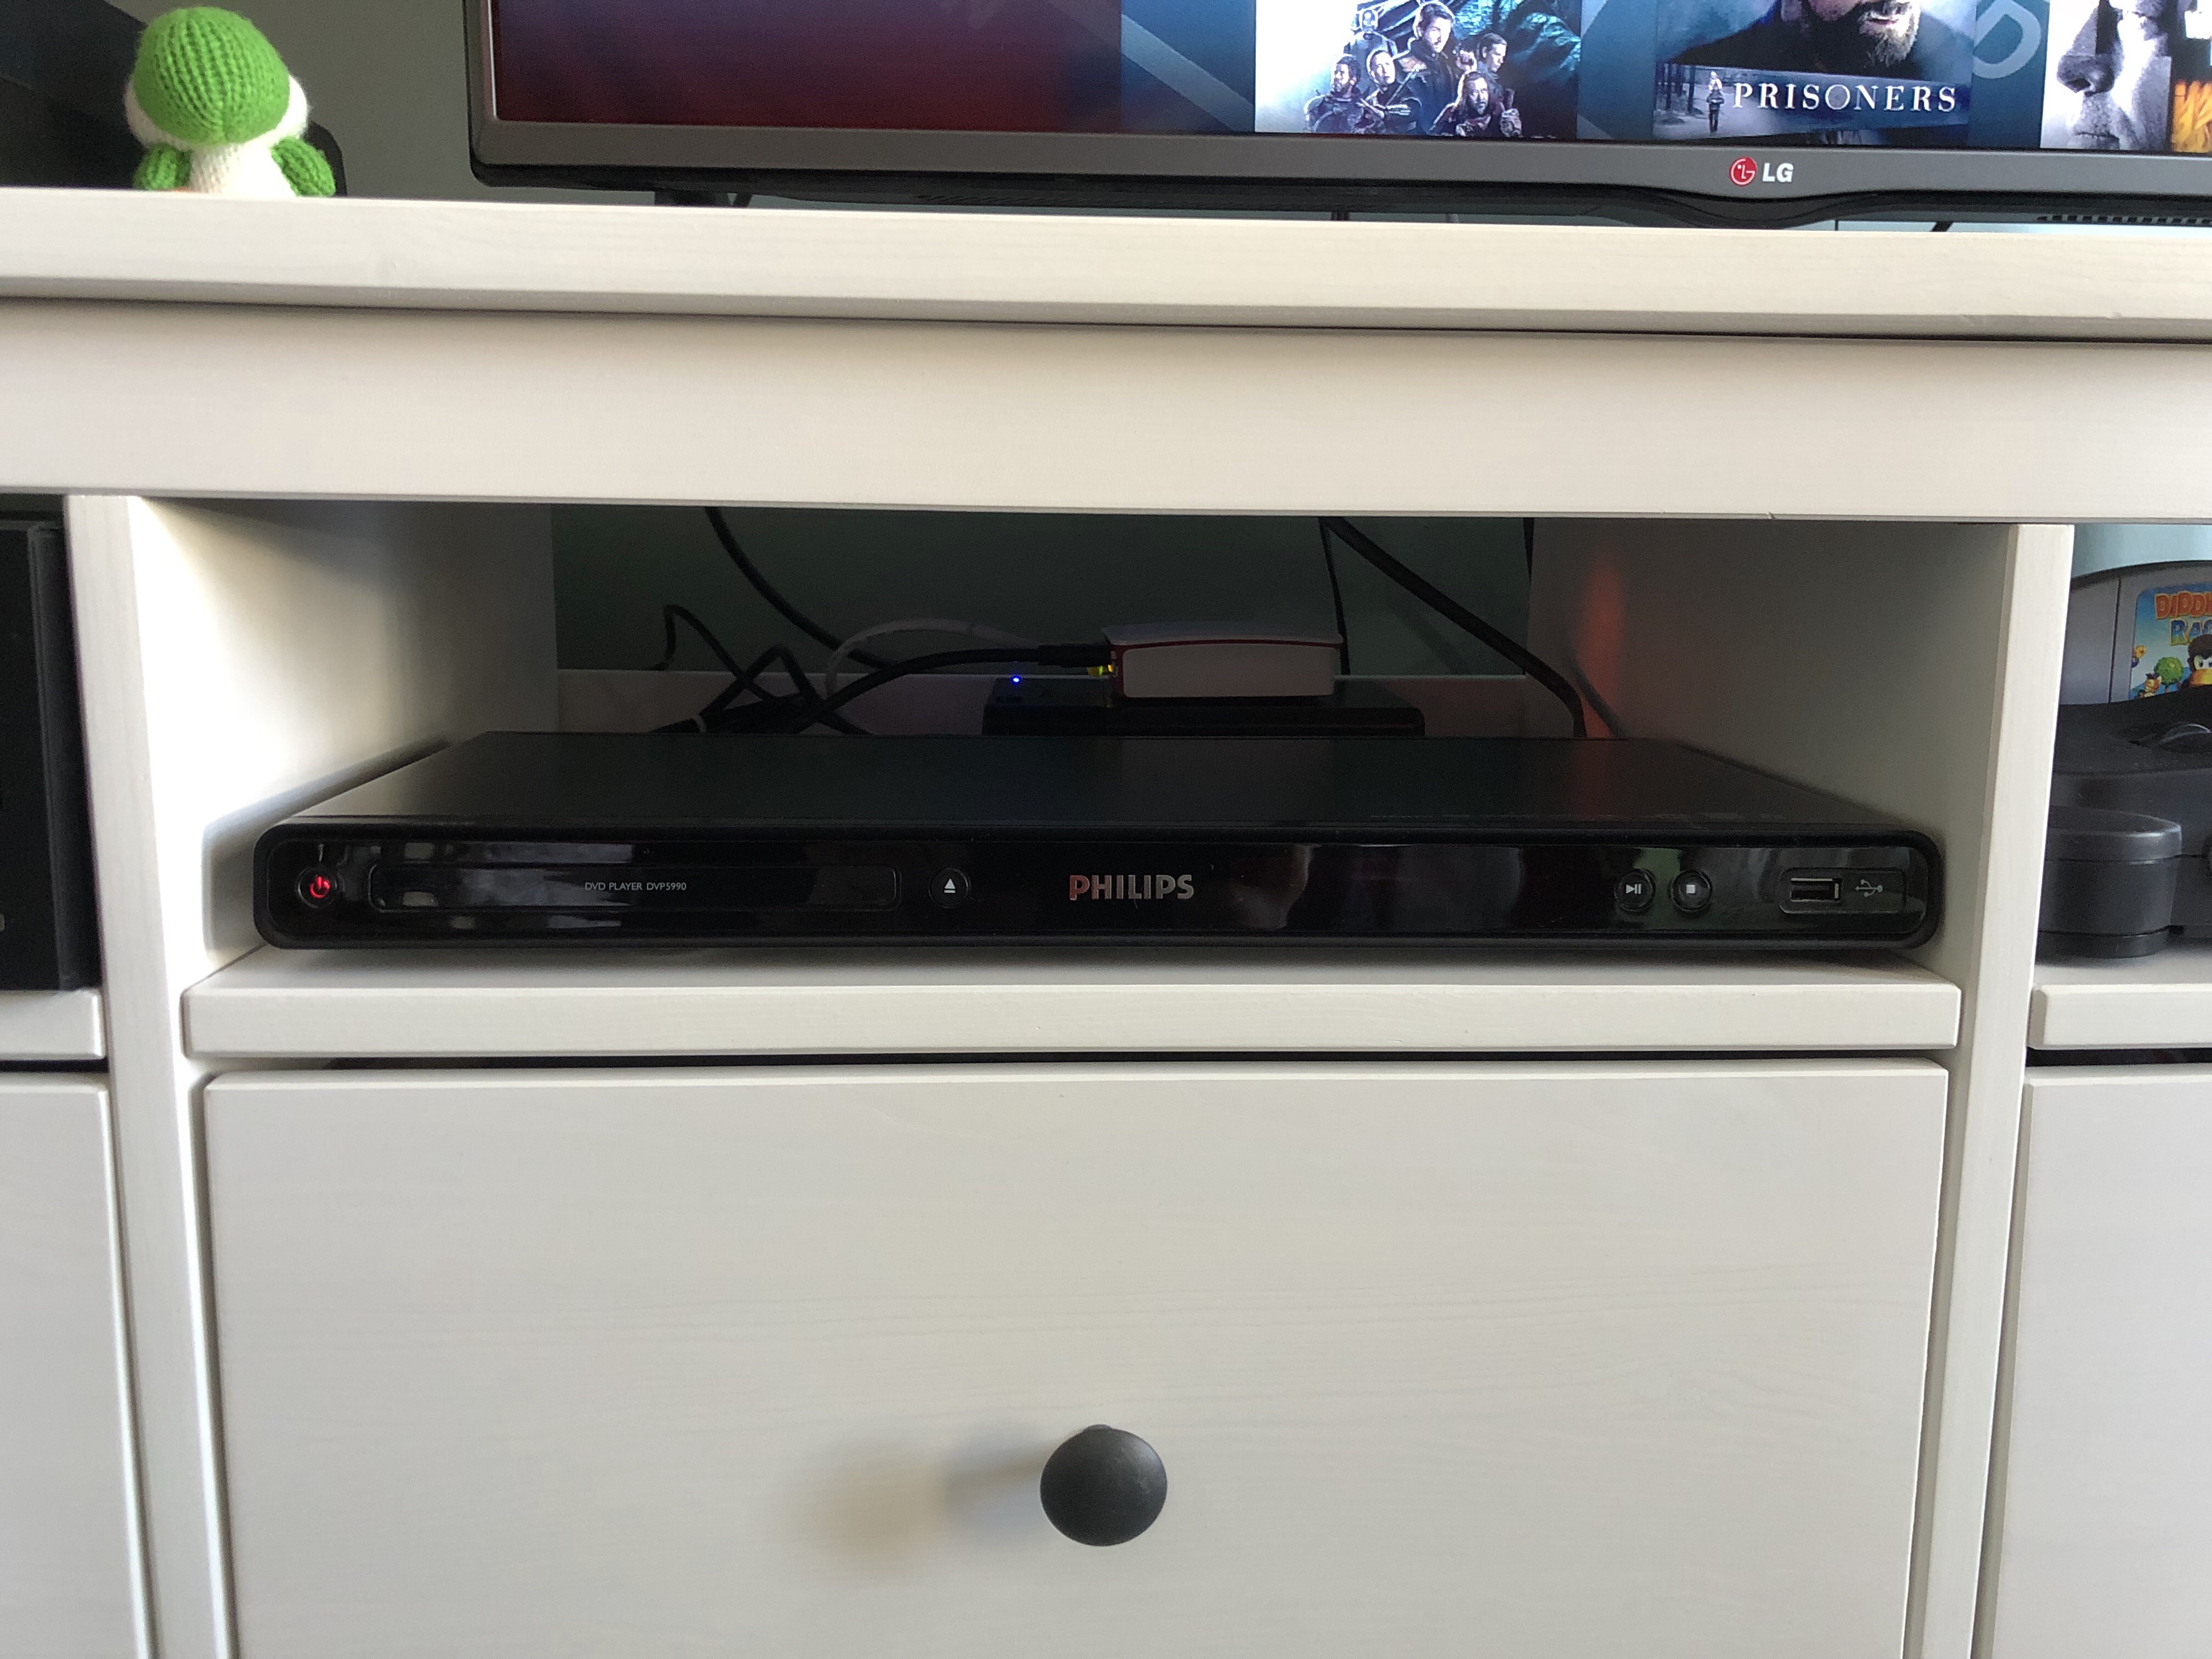
To make this hardware setup more visually attractive, I put both the Pi and drive behind my DVD player. In the dark, all you can really see is the blue and red lights.
The interface is very intuitive and I recommend using the Kodi interface Estuary. There are lots of add-ons for OSMC for YouTube, TWiT, Food Network, etc.
Connecting over the network
Once you have the hardware hooked up, it’s pretty simple to connect to OSMC over the network using SAMBA. From my Mac, I can see the Pi and the external drive from the Finder. This is a great feature because it allows you to transfer new files to the Pi over your local network.

That’s about it!

Leave a comment